Revive Your Vintage Speaker with These DIY Grill Cloth Installation Tips
Share
Are you the proud owner of a vintage speaker or amplifier that's been sitting in your garage for years? Well, dust off those old components and get ready to breathe new life into them with a simple DIY grill cloth installation. At Big River Hardware, we've got all the tools and supplies you need to transform your vintage audio gear into a showstopper.
Choosing the Right Grill Cloth
The first step in your grill cloth installation journey is selecting the perfect fabric. At Big River, we carry a wide variety of colors and patterns to suit any vintage aesthetic. Whether you're going for a classic tweed look or a bold, modern design, our knowledgeable staff can help you find the right grill cloth to complement your speaker.
When choosing your grill cloth, consider the overall style of your vintage audio equipment. A delicate, floral pattern might look stunning on a 1950s tube amp, while a rugged, industrial-inspired fabric could be the perfect match for a 1970s receiver. Don't be afraid to get creative and experiment with different textures and colors – the possibilities are endless!
Preparing Your Speaker
Before you can install the new grill cloth, you'll need to carefully remove the old one. This process can be a bit tricky, so take your time and work slowly to avoid any damage to the speaker. Use a sharp utility knife or scissors to carefully cut away the old fabric, being mindful of any staples or adhesive that may be holding it in place.
Once the old grill cloth is removed, give the speaker a thorough cleaning. Use a soft cloth and a mild cleaning solution to remove any dust, dirt, or debris that may have accumulated over the years. This will ensure a smooth, even surface for your new grill cloth to adhere to.
Cutting and Applying the New Grill Cloth
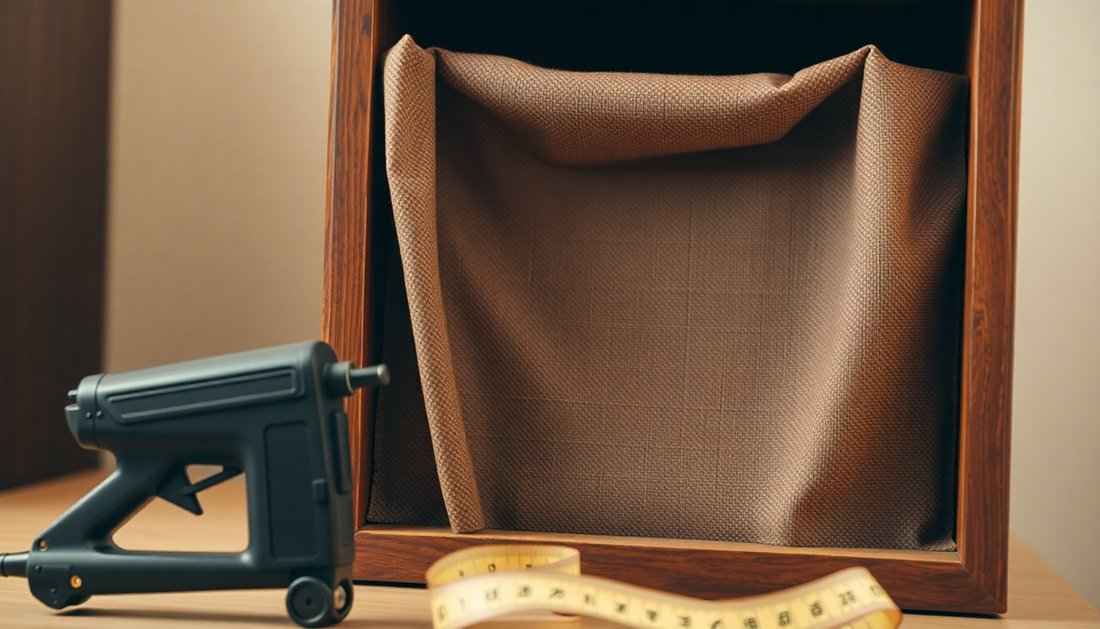
With your speaker prepped and ready, it's time to cut and apply the new grill cloth. Measure the dimensions of your speaker's grill and use those measurements to cut the grill cloth to size. Be sure to leave a few extra inches of fabric on each side to allow for wrapping and securing the cloth.
When applying the grill cloth, start by carefully aligning it over the speaker's grill. Use a spray adhesive or a light layer of fabric glue to secure the cloth in place, working from the center outwards. Gently wrap the excess fabric around the edges of the grill and secure it with staples or small tacks.
Take your time and smooth out any wrinkles or bubbles as you go. The key to a professional-looking installation is paying close attention to detail and ensuring a tight, even fit.
Finishing Touches
With the grill cloth in place, you're almost ready to enjoy your revived vintage speaker. Give the fabric a final once-over to make sure everything is secure, then reattach the grill to your speaker or amplifier.
At Big River Hardware, we're passionate about helping DIY enthusiasts breathe new life into their vintage audio gear. Stop by our store or visit us online to explore our selection of grill cloth, tools, and other audio accessories. With a little elbow grease and our expert guidance, you'll be rocking out to your favorite tunes in no time!
#DIYAudio #GrillClothInstallation #SpeakerUpgrades